1. Preparing the Image in Photoshop
Step 1
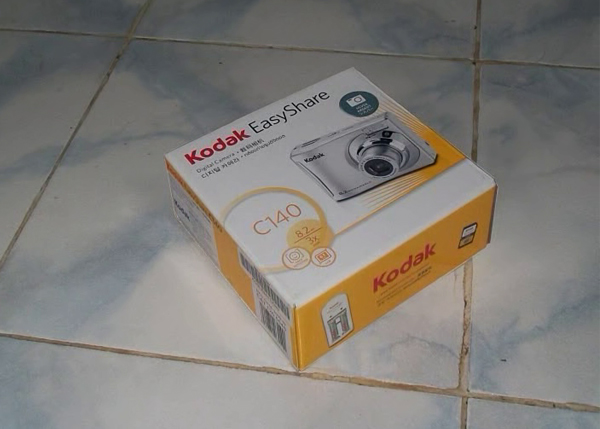
This is the still image which I'll use in the tutorial. This is the snap of my stills camera’s carton box.
Step 2
Open Photoshop. Import the image into Photoshop.

Step 3
Click on Lasso Tool icon and select Magnetic Lasso Tool.

Step 4
With the help of Magnetic Lasso Tool, make a fine selection around the carton box.

Step 5
Press Ctrl-X to cut the selected part.

Step 6
Press Ctrl-V to paste the cut part again but on a new layer.

Step 7
Rename the layers as Box and Floor.

Step 8
Turn off the visibility of the Box layer.

Step 9
With the Floor layer selected, pick Clone Stamp Tool.

Step 10
With the help of Clone Stamp Tool, start painting the empty space. The aim is to fill the empty space with the missing pixels of the floor. Use the pixels around the empty area and the rest of the image.

Step 11
I've painted the empty space. This is not perfect but it's sufficient for the task. The only thing which you have to keep in the mind is that you must paint the edges of the empty area perfectly. No matter how it looks in the center, but it should be seamless around the edges.

Step 12
Save this image as floor.jpg.

Step 13
Turn off Floor layer’s visibility and turn on Box layer’s visibility. Save the image asbox.png.

2. Camera Mapping in 3ds Max
Step 1
Open 3ds Max.

Step 2
Being in the perspective viewport, press Alt-B keys. It opens Viewport Configuration window. Turn on Use Files radio button. Click on Files tab.

Step 3
Select floor.jpg file and click on Open.

Step 4
You get the floor.jpg image as the perspective background image. Turn on safe frames mode by pressing Shift-F key.

Step 5
Match the grid with the perspective of the background image. This is a very necessary step for a successful camera mapping.

Step 6
Create a plane and cover the entire perspective viewport.

Step 7
With the plane selected, apply a Camera Map modifier onto it.

Step 8
Being in the perspective viewport, press Ctrl-C to create a camera.

Step 9
Press M to open the Material Editor. Pick an empty slot and apply floor.jpg image as the Diffuse texture onto the plane.

Step 10
With Camera Map modifier selected, click on Pick Camera and select the camera in the viewport. You can see the plane’s texture is a bit jagged.

Step 11
Select the plane and increase its Length and Width segments to 30. The problem with the plane’s texture gets solved.

Step 12
Press M to open the Material Editor. Pick another empty slot and apply the original image as the Diffuse texture onto the plane.

Step 13
Create a box in the perspective/ camera viewport.

Step 14
Turn the box into Editable Poly. Adjust the box according to the carton box in the background image. You may have to play with the vertices of the box.

Step 15
Press M to open the Material Editor. Pick another empty slot and apply thebox.png as the Diffuse texture onto the box.

Step 16
With the box selected, apply a Camera Map modifier onto it. With Camera Mapmodifier selected, click on Pick Camera and select the camera in the viewport.

Step 17
With the ground plane selected, apply the floor.jpg texture again.

Step 18
With the camera selected, press Ctrl-V key to make a clone of it.

Step 19
Select the second camera and try to bring it closer to the box. You will see the camera is traveling in the scene.

Step 20
Render the scene. You will see some shading in the rendered frame so I'll apply an ambient light.

Step 21
Apply an Omni light in the scene. Turn on Ambient Only option.

Step 22
Render the scene. You will see a perfectly lit scene.

Step 23
You can animate the second camera. But don’t go quite away from the box otherwise you will see some seams around the plane’s corner. A little bit of camera animation can make the still scene live.
NB: Don't move the first camera during the animation of the second camera. The first camera is used to project the textures onto the meshes.

Conclusion
Camera Mapping is a very useful technique and it is used in almost every VFX shots. Due to Camera Mapping technique, you don't need to replicate each and every thing in a scene. You just have to project the textures onto the simple geometry and hence you can animate the camera to make a still image into a live one.
Salam & Hi everyone; i am a Civil Associate Engineer. (visit my blog) Every person have some skills, I know lots of software. Auto-CAD,3D Studio Max,VRay, , Revit, Blender (3D Animation Maker),SolidWorks (3D Designer),MS Office,Adobe Photoshop,Coral Draw,Inpage,Adobe After Effects,Ulead Video Studio,Eaglepoint Road Calc,Primavera P6,Adobe Dreamviewer (Web Designer). I got these all Skills by the grace of Allah . Pray for me ! Regards...
ConversionConversion EmoticonEmoticon